How to Build a Fence
A step by step method of how to do this tedious project, no guarantee of results
Introduction
A fence is used to keep things in and keep things out. So the first thing someone should ask themselves is, do they really need a fence, if the answer is yes, keep reading, if not, keep reading, you may learn something. The second question is, do they like to dig? If not, hire a professional.
The goal of the fence will determine the type of fence you will need for your yard, farm, or garden. Fences can be made from all kinds of materials; chicken wire, vinyl, wood, iron, steel, stone, and chainlink to name a few. We are going to talk about how to build a wooden (cedar) fence.
Materials
Cedar. A lot of cedar.
More screws than you can count
A saw
Gloves. Splinters are no fun.
Concrete
A digging device
String
Spray paint
Stain or paint
Procedure
Plan and prepare
Do you have a plan? If not, we highly suggest starting one. This is the most important part of building a fence other than actually building the fence. The best way to plan a fence is to take your can of spray paint and walk along the desired fence perimeter and spray the ground. From here you can estimate the amount of wood you’ll need (just buy a lot) and you’re ready to go and pick up the rest of your materials.
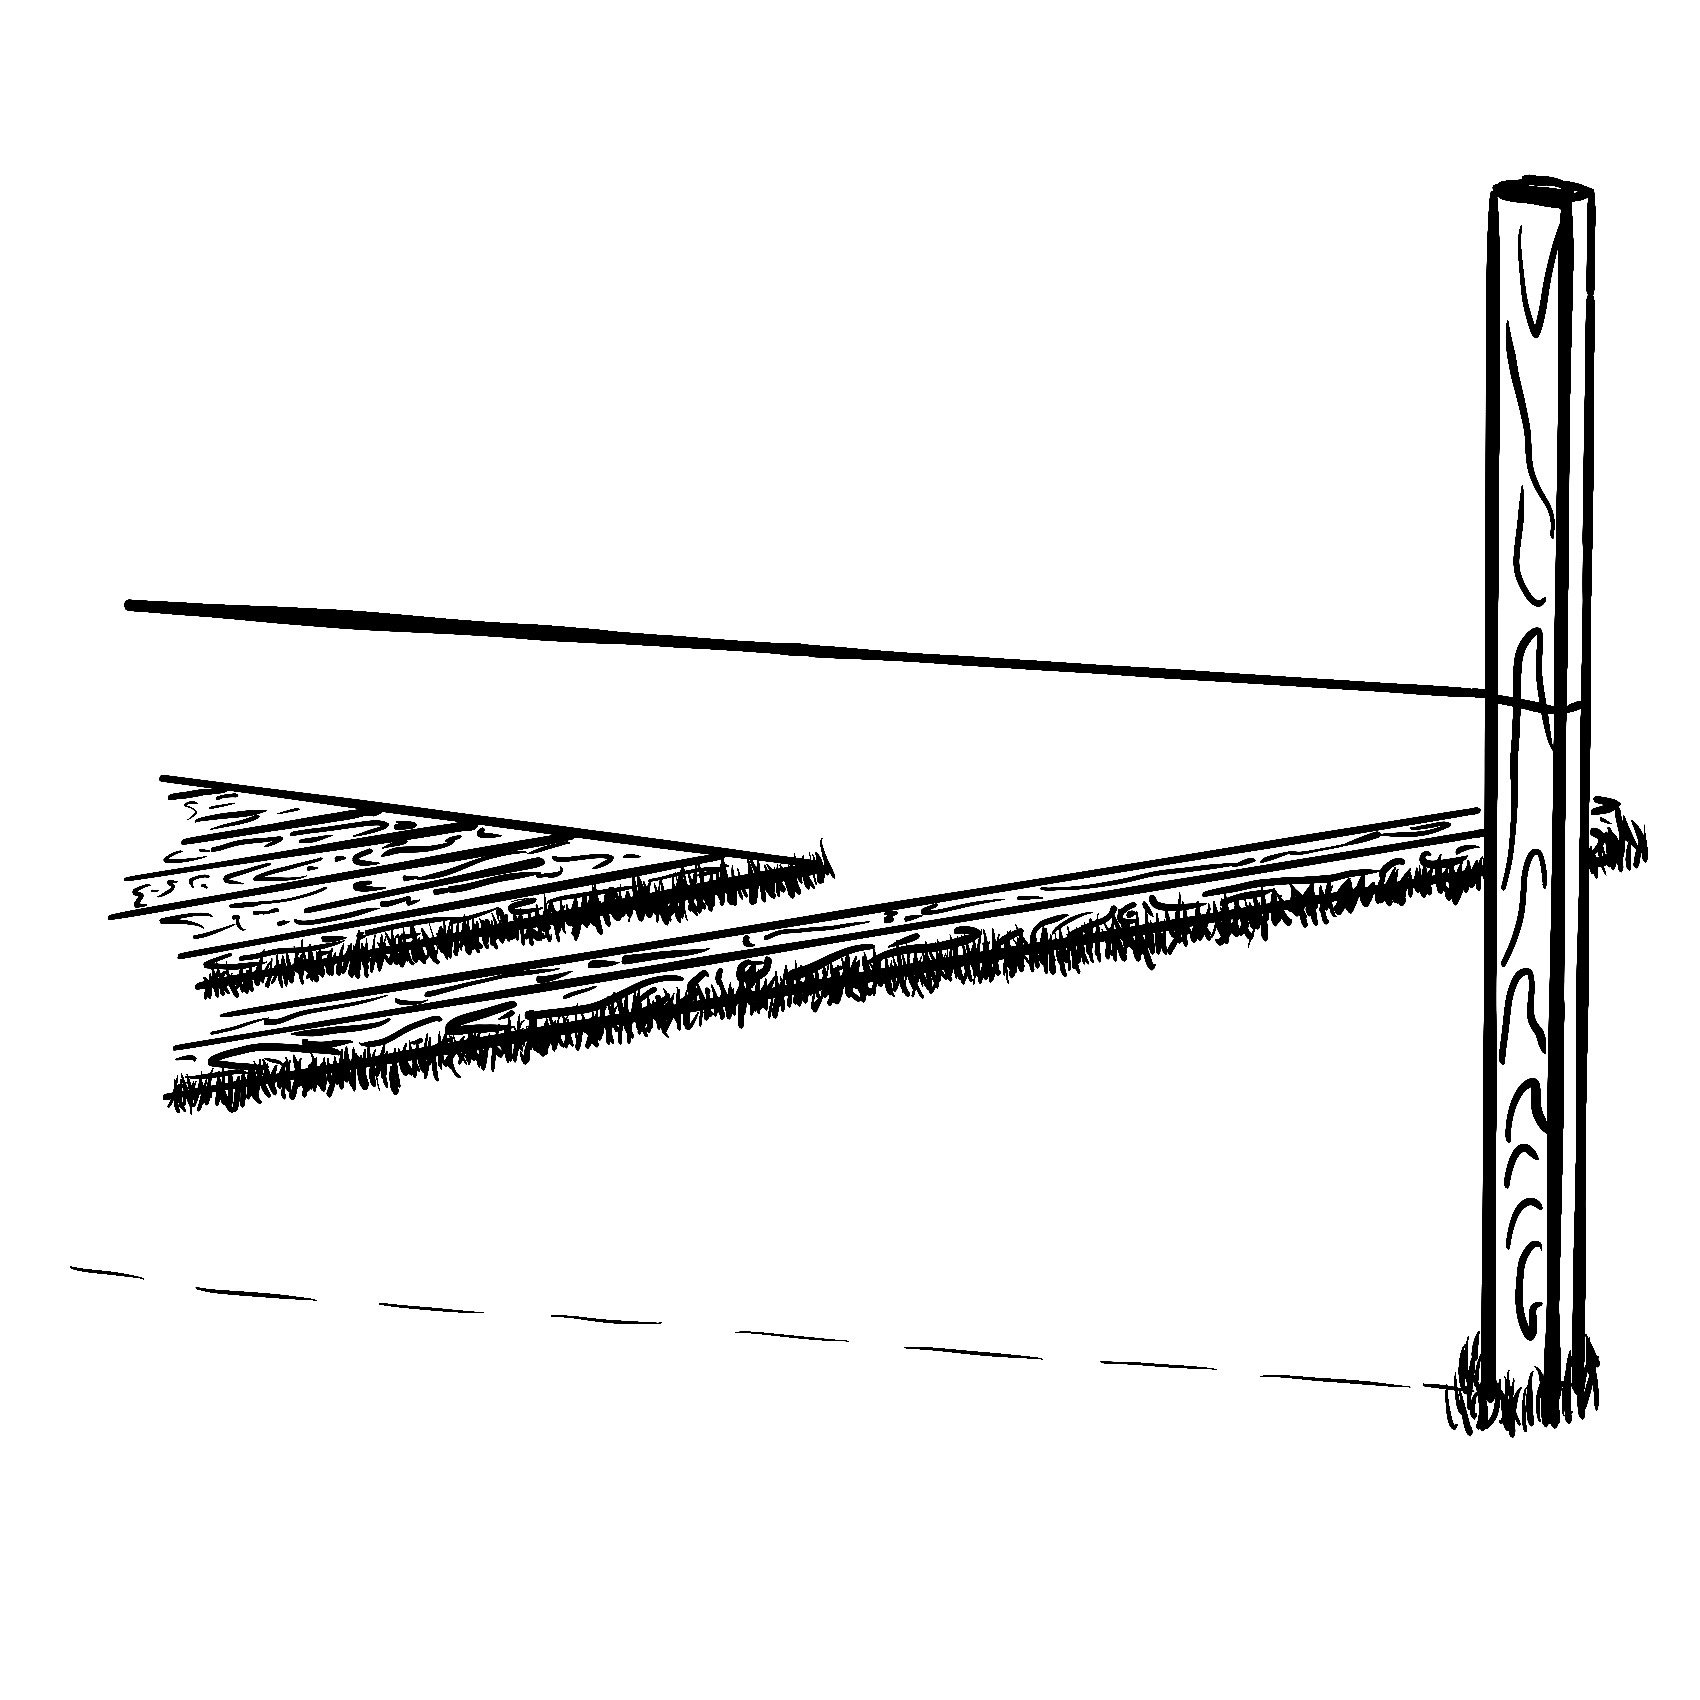
After you get back home, you can call it a day (Seinfeld is always a good choice. Stream it now on Netflix!) or start cutting. Cut your wood to the desired length, width, shape, etc., and start laying out your fence along its perimeter. Stake in thin pieces of wood where the large posts are going to go and tie your handy dandy string connecting them together. This will ensure that the fence made is straight and the posts are equally spaced.
Time to dig a hole
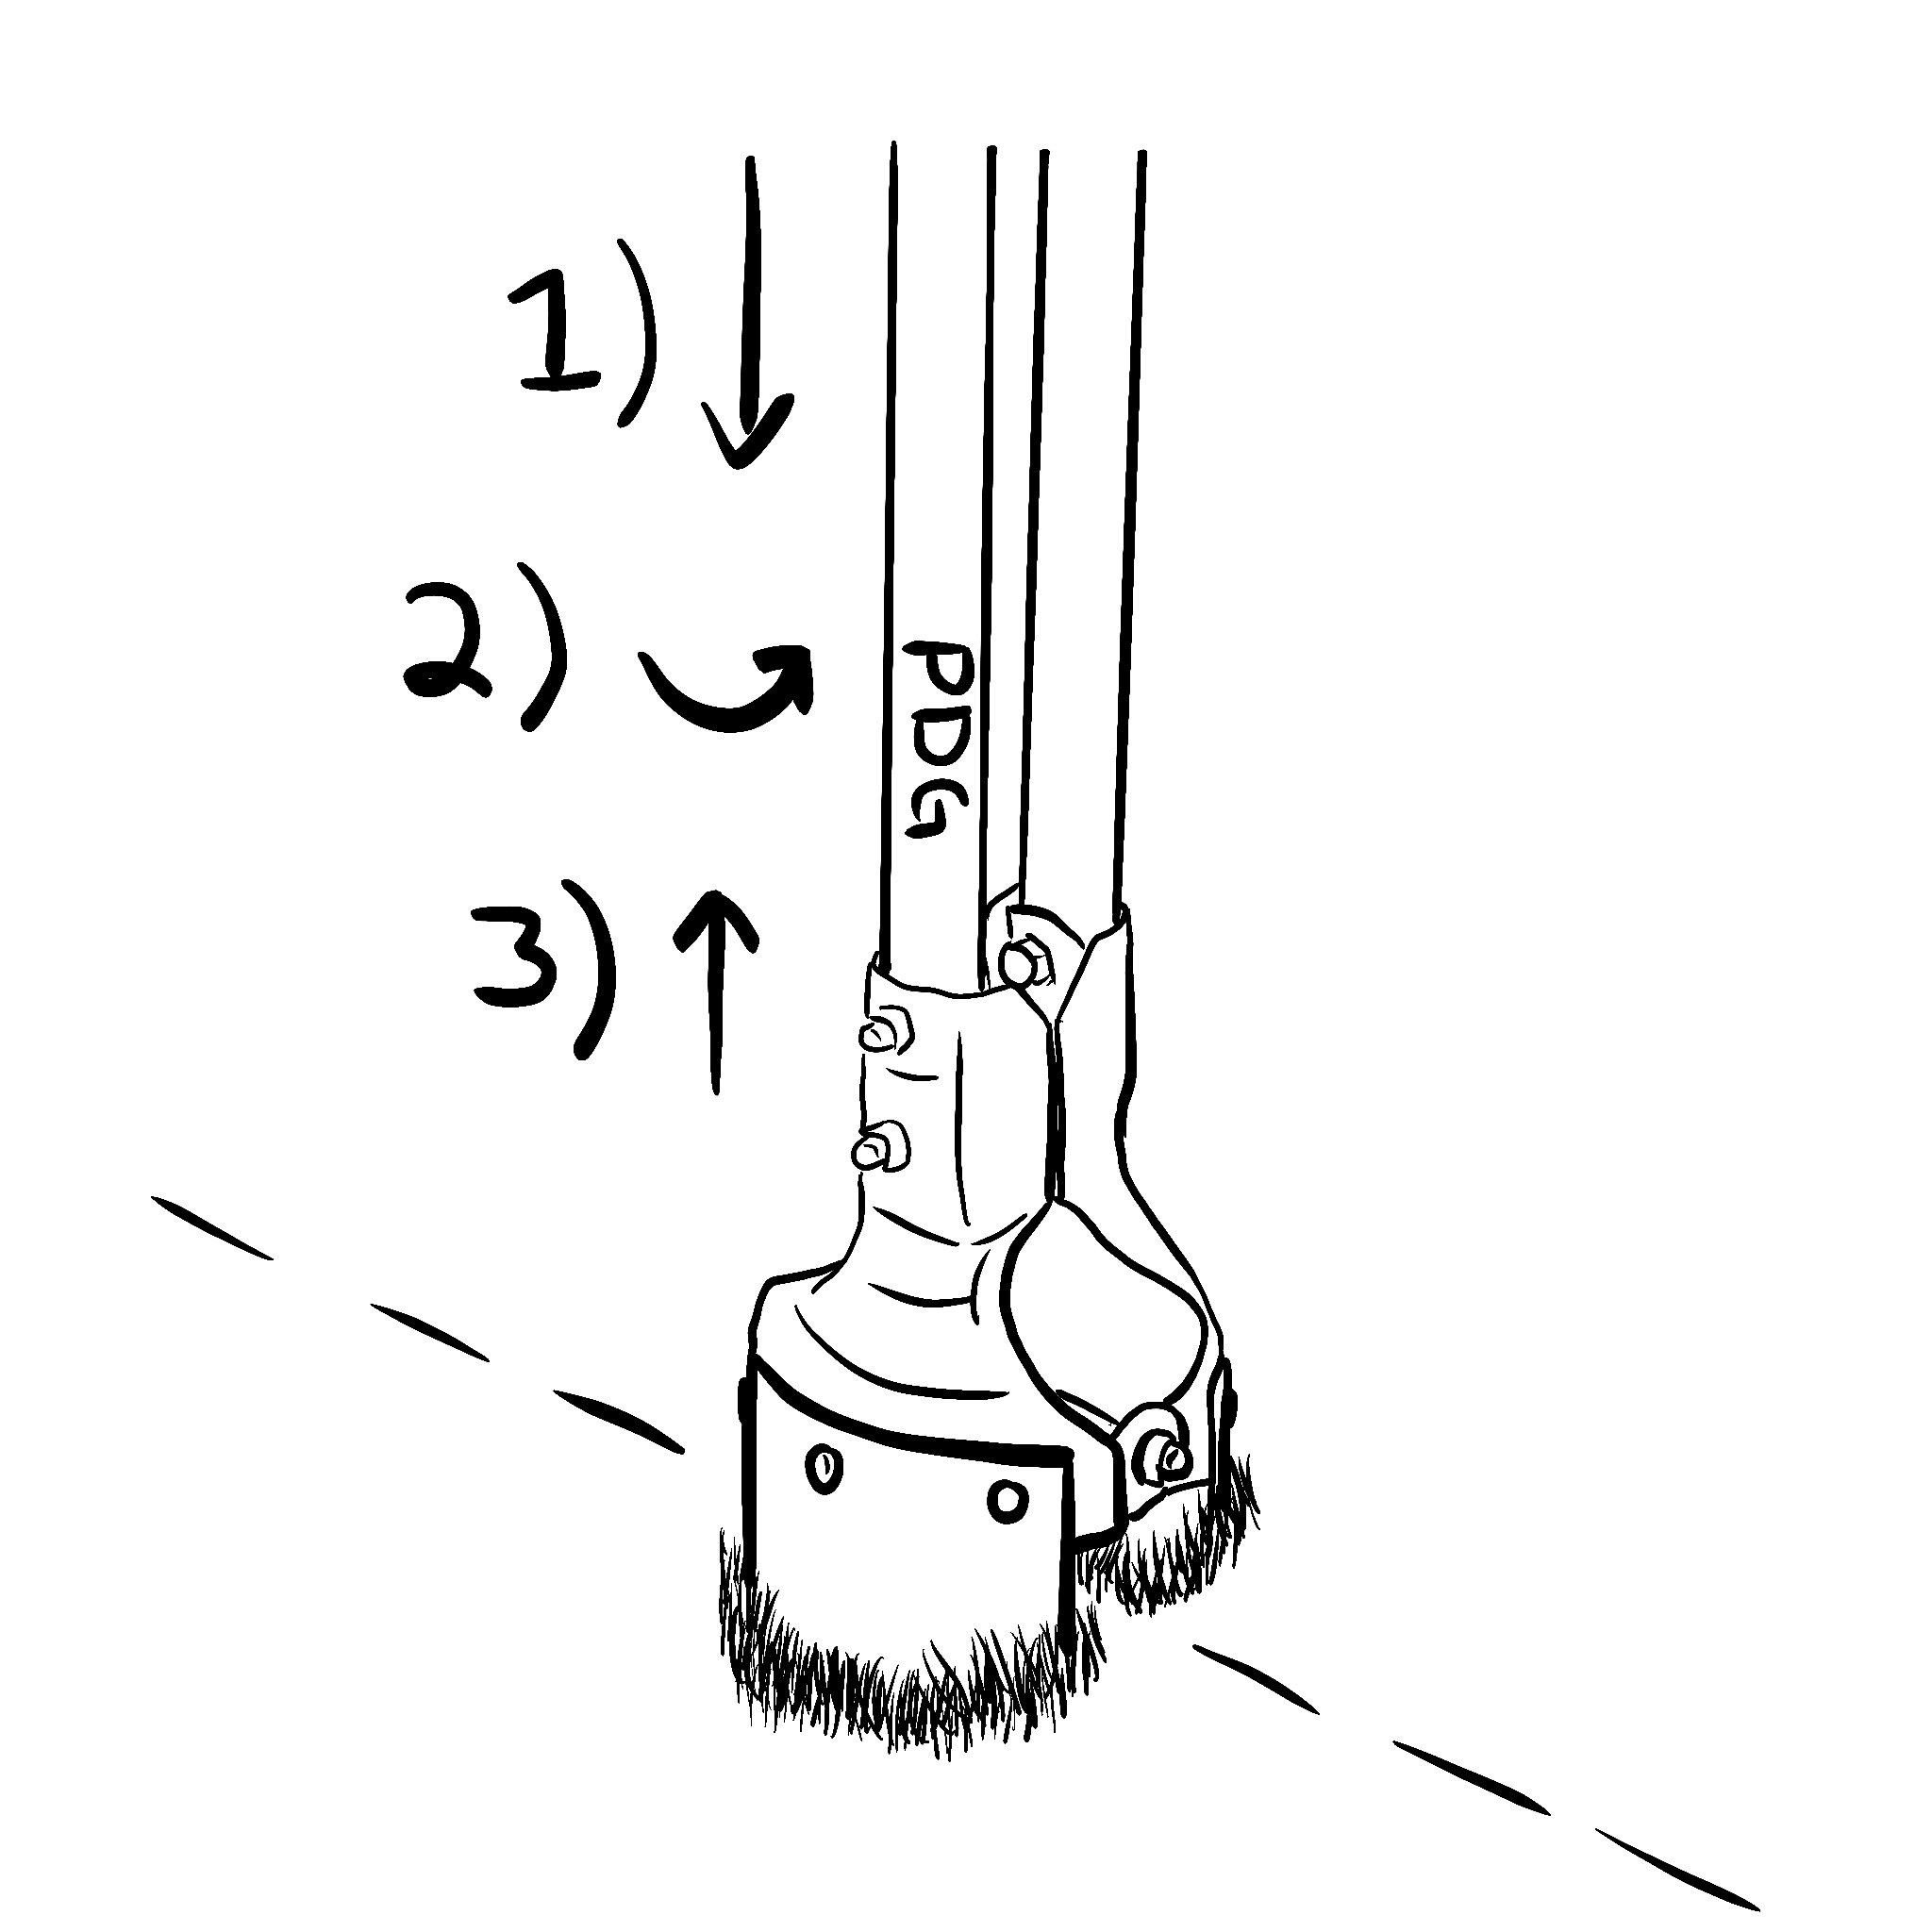
It’s time to put on those gloves. Dig a hole four times as large as the width of the post, and about 1/3 deep as it is tall. That might sound confusing but we’re sure you’ll figure it out. We recommend using a post hole digger so the holes are perfectly round. If you’re confident in your ability to dig geometric shapes with pristine accuracy, then you don’t need this tool. Hopefully no pipes or running wires are harmed during the dig. That would be unfortunate.
The pour
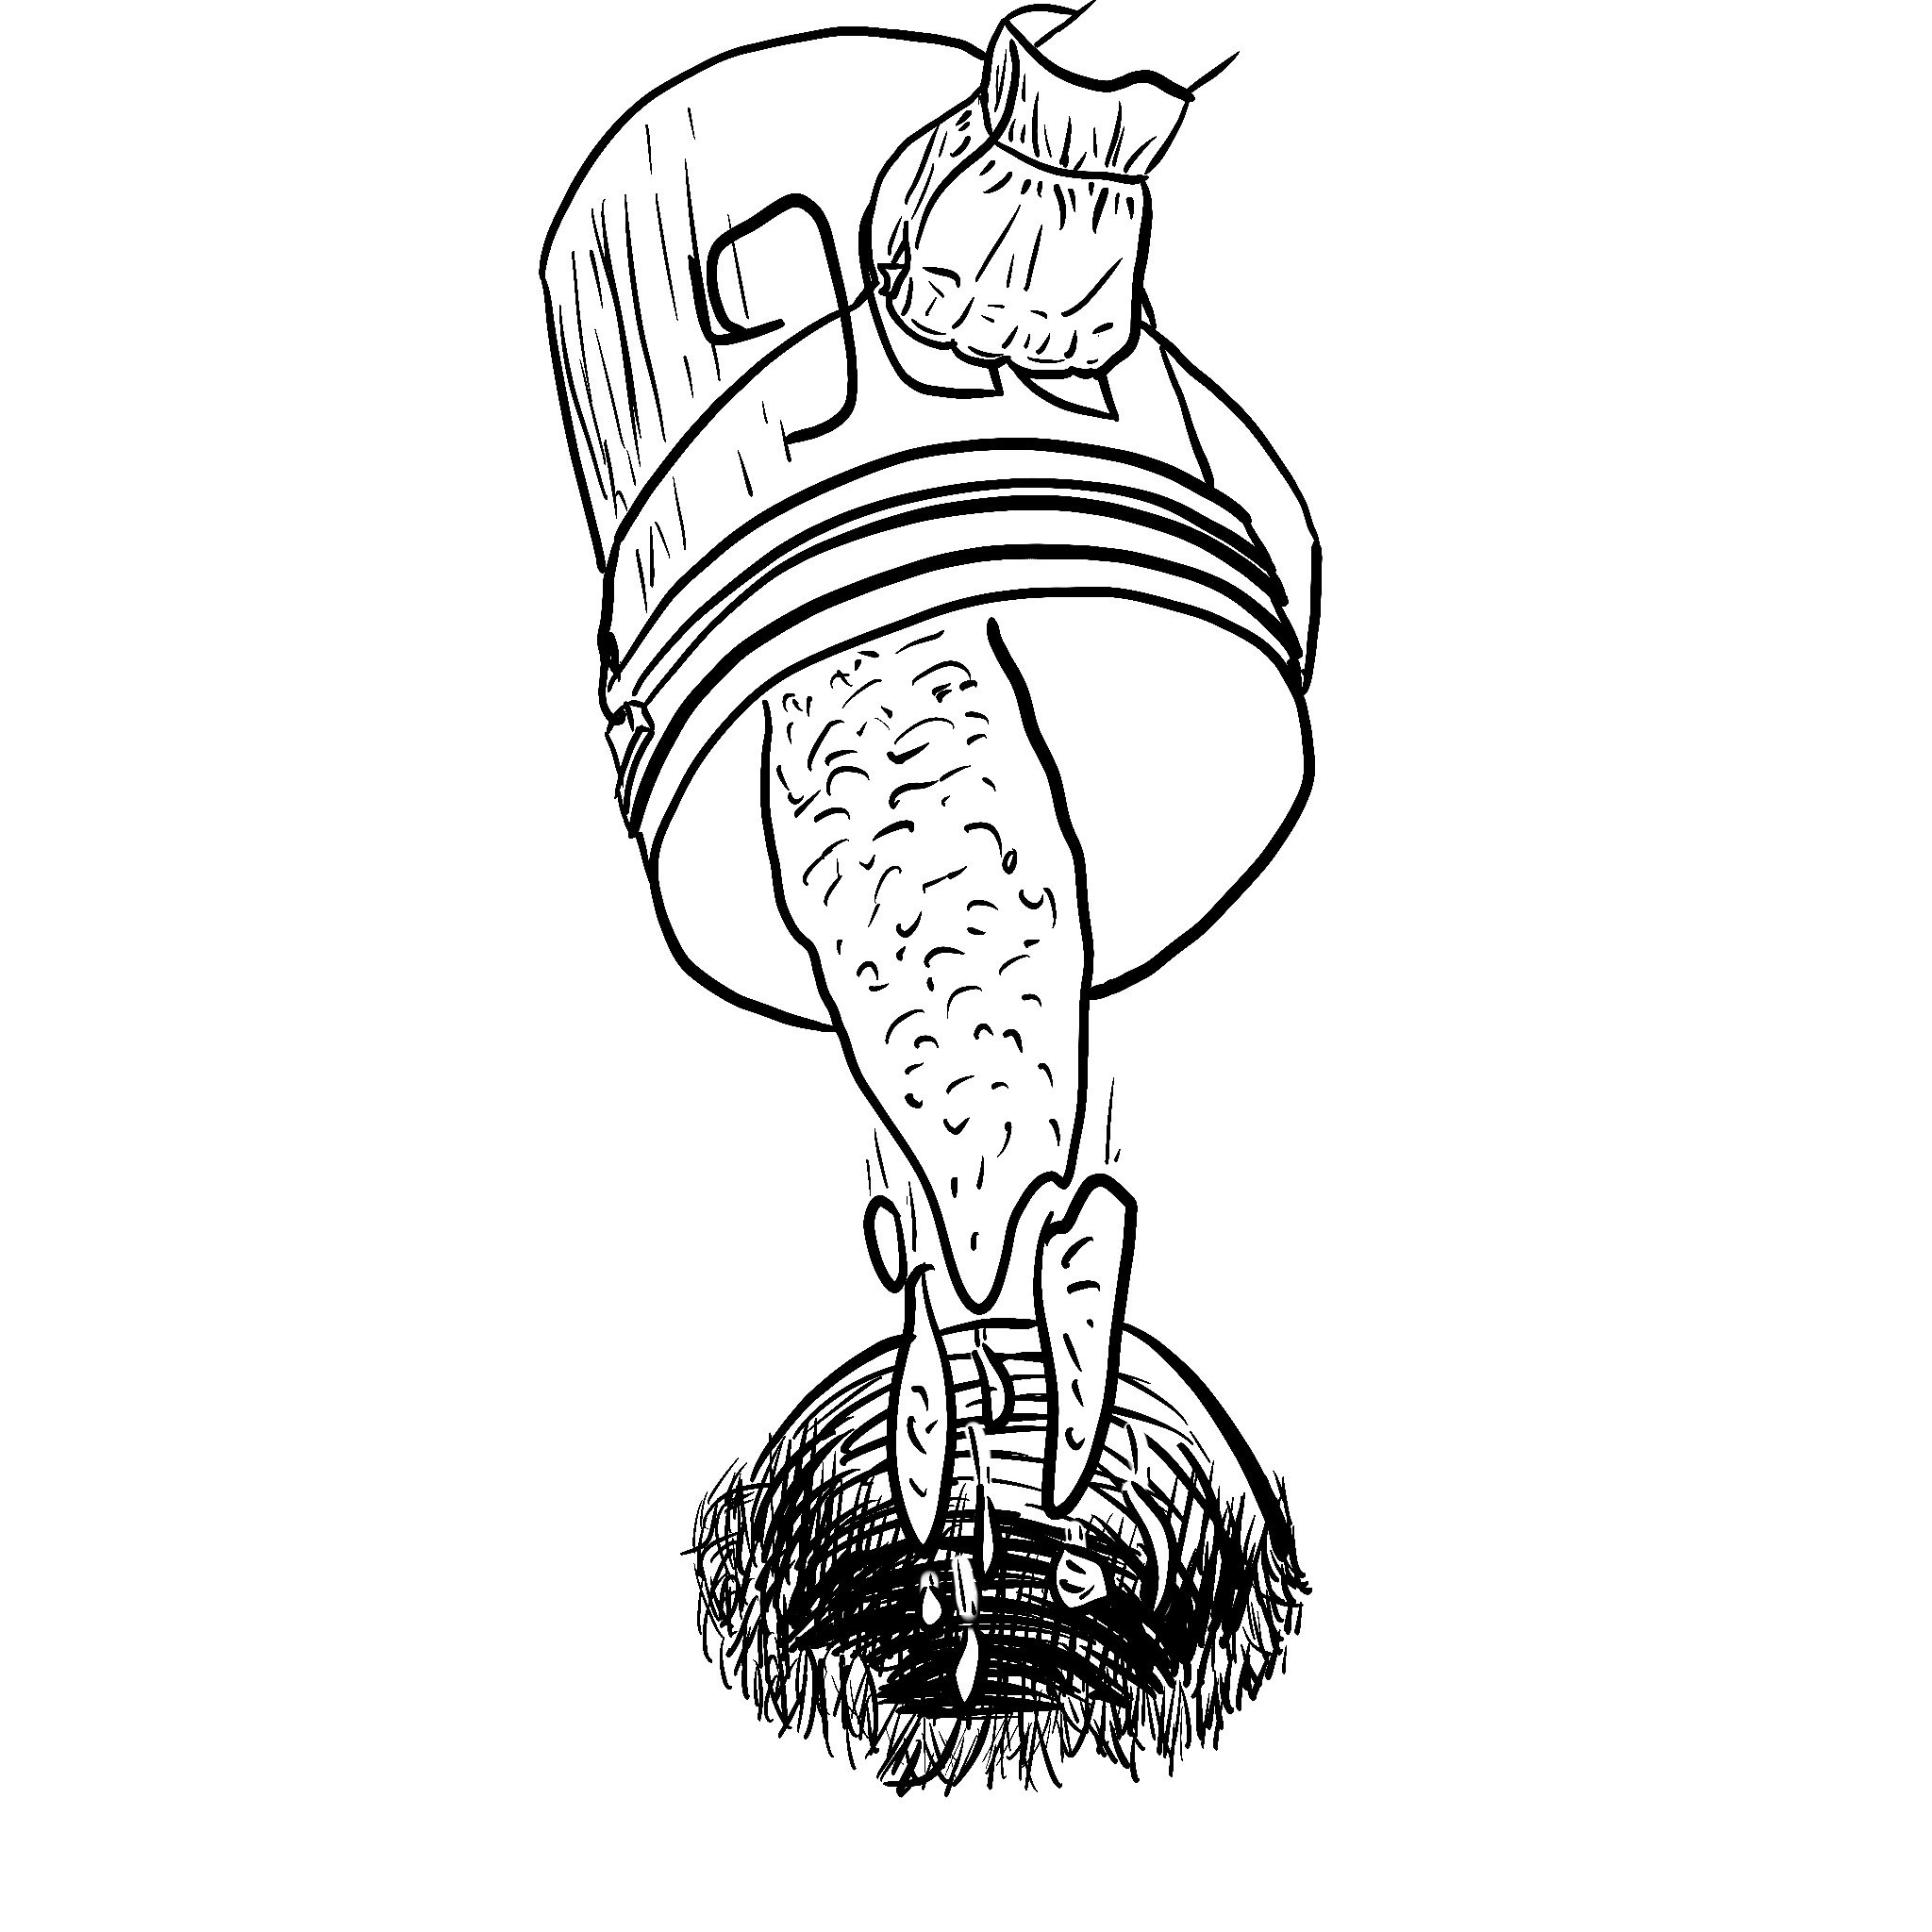
Make the concrete, then pour it into the hole so it covers the base. Then proceed to pour it around the post until it has reached the top of the hole. Do this for all of your posts then let them set before moving onto the next step. Hopefully it doesn't rain, that would really put a damper on things.
Attach the rails
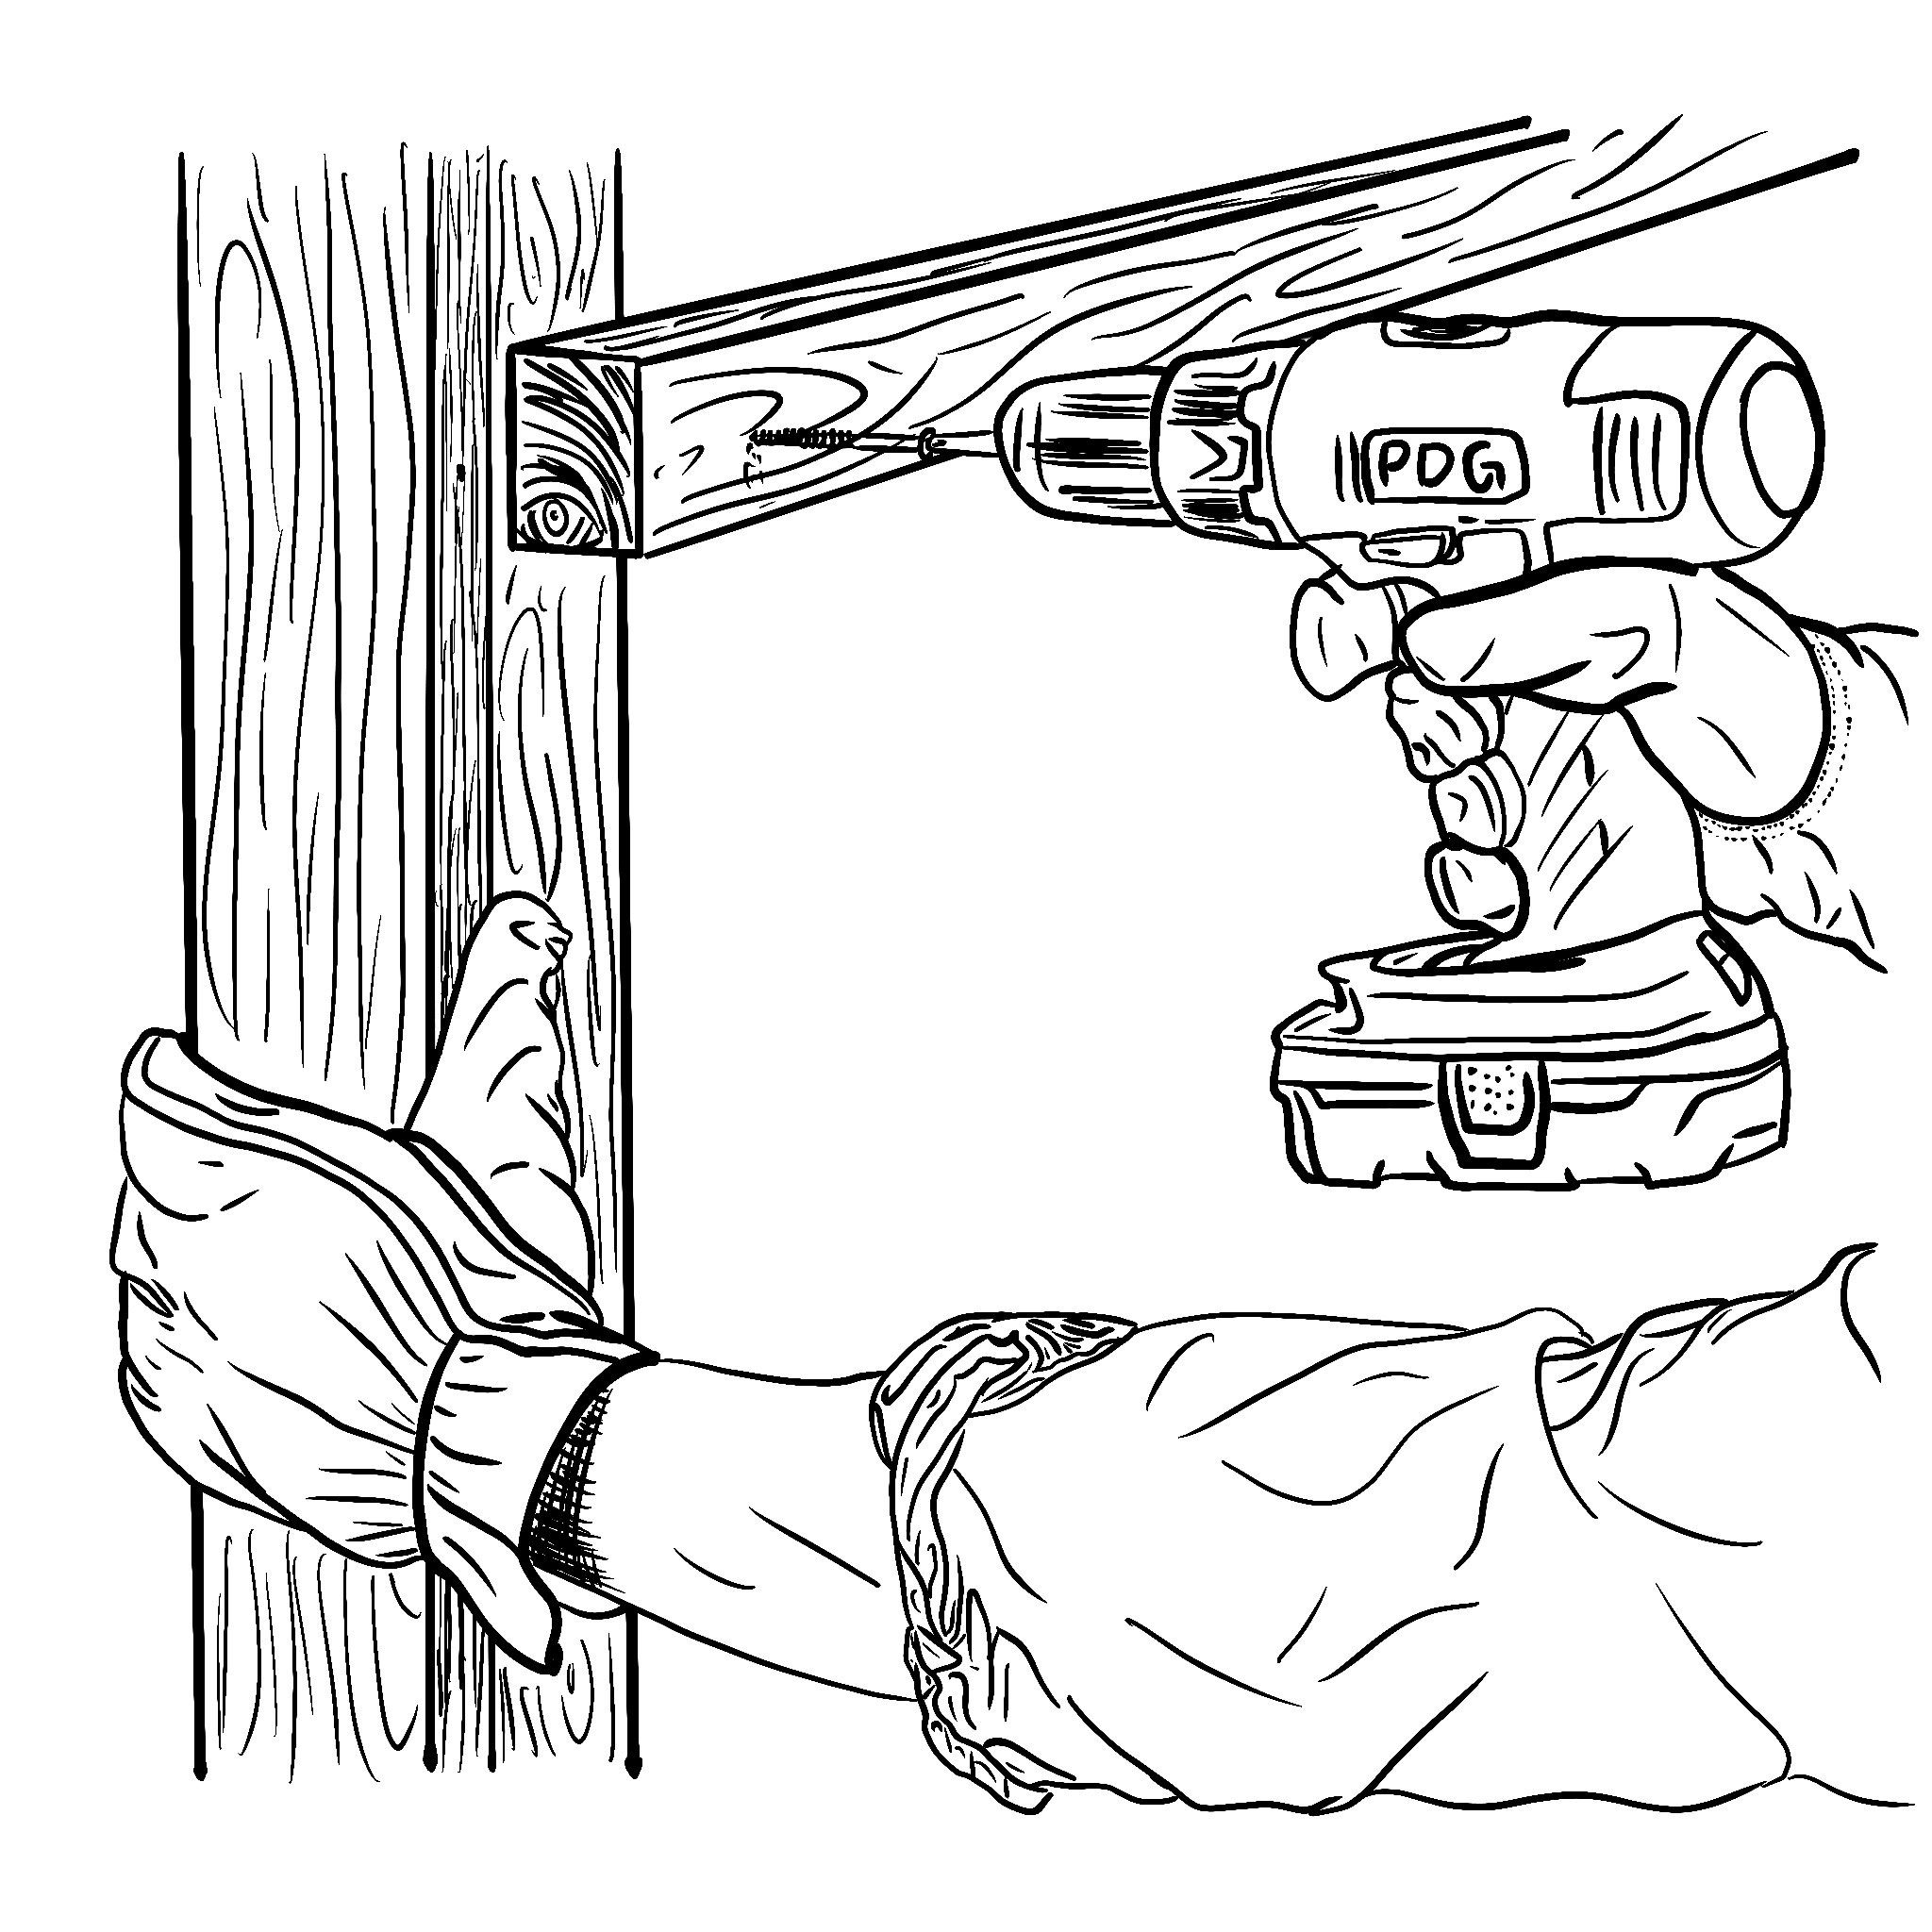
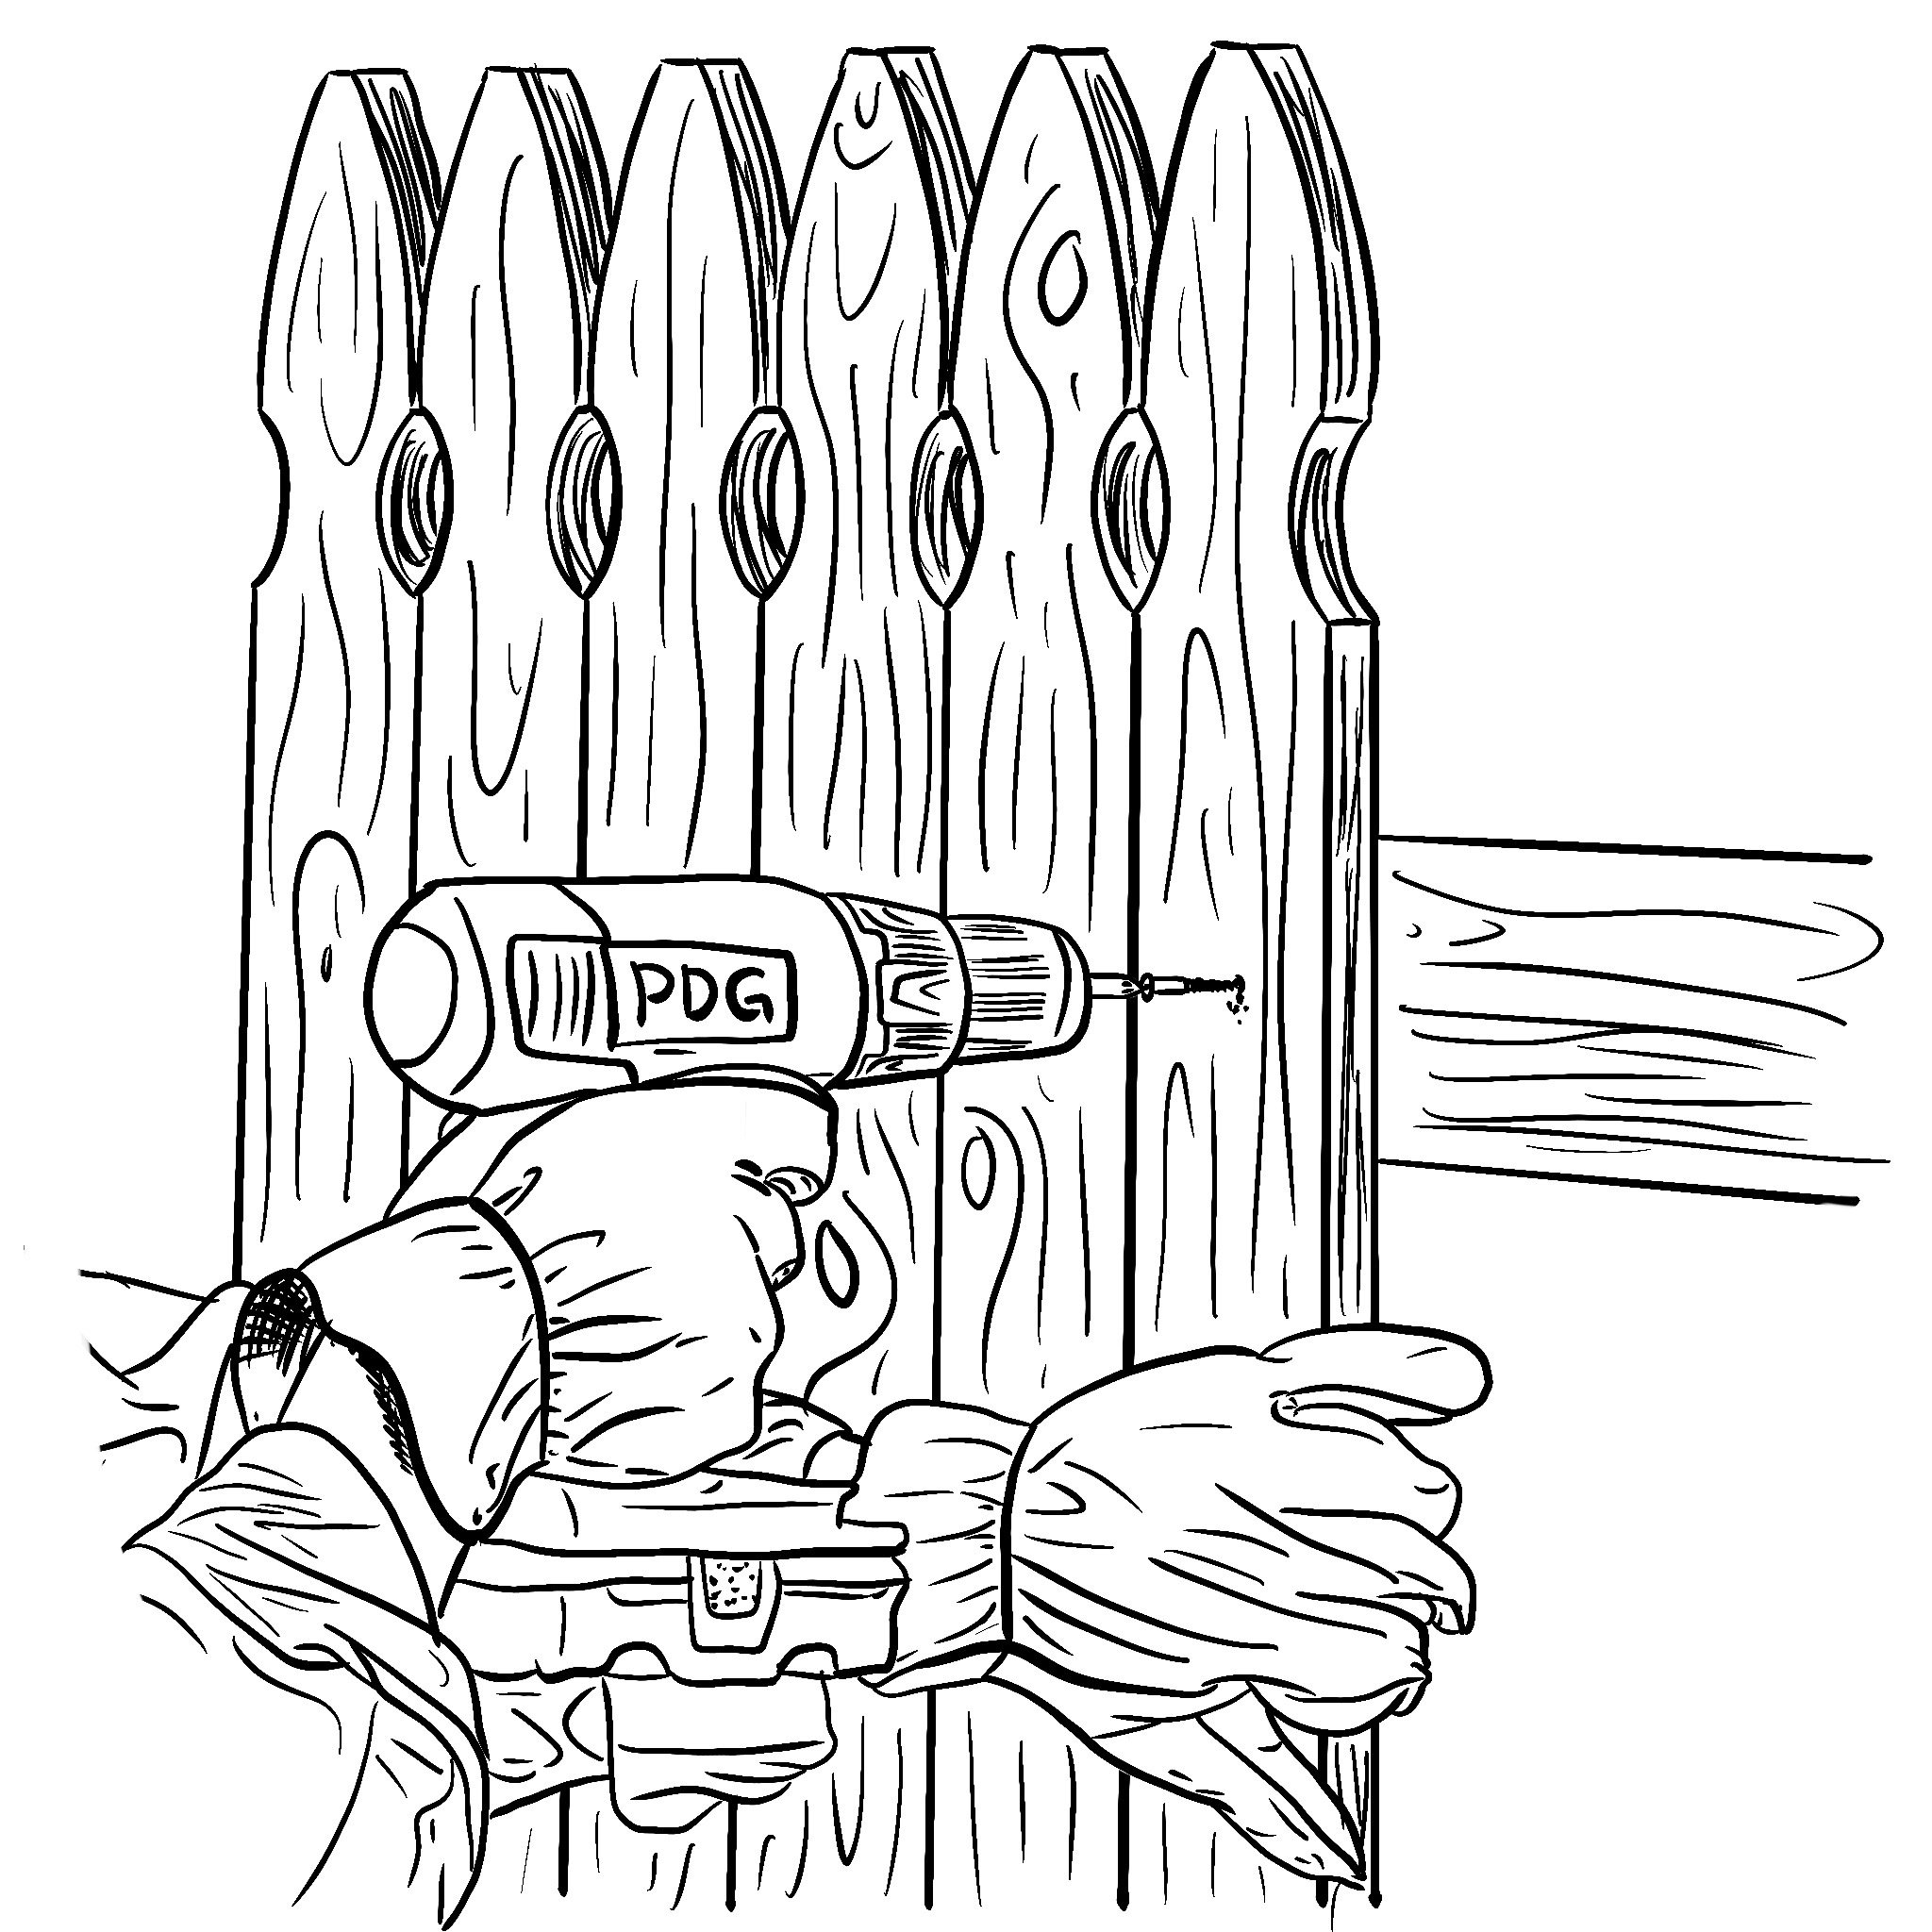
You’re probably thinking, when do we get to use our screws?! Now is the time folks. Get out the screws and screw the rails of your fence to the posts. You will want the rail height to stay consistent so measure how tall you want them, then keep that height throughout the build. Or don’t, it’s your fence.
This is the fun part
Screw in the pickets side by side to each of the rails. This is a tedious task, especially if you decided to build a huge fence, but it will all be worth it in the end (if it turns out nicely). After this has been completed, paint or stain the wood the desired color. Or don’t, and leave it natural to let the cedar go through it magical aging process.
There you have it! You did it!
*Disclosure: we sell clothing, not fencing. We are not accountable for any injuries or ugly fences that were build based on these instrucitons. Unless of course they came out beautifully then we will take full responsibility in the outcome of the fence. Before building a fence, or if you would like a fence built, please consult the professionals.

